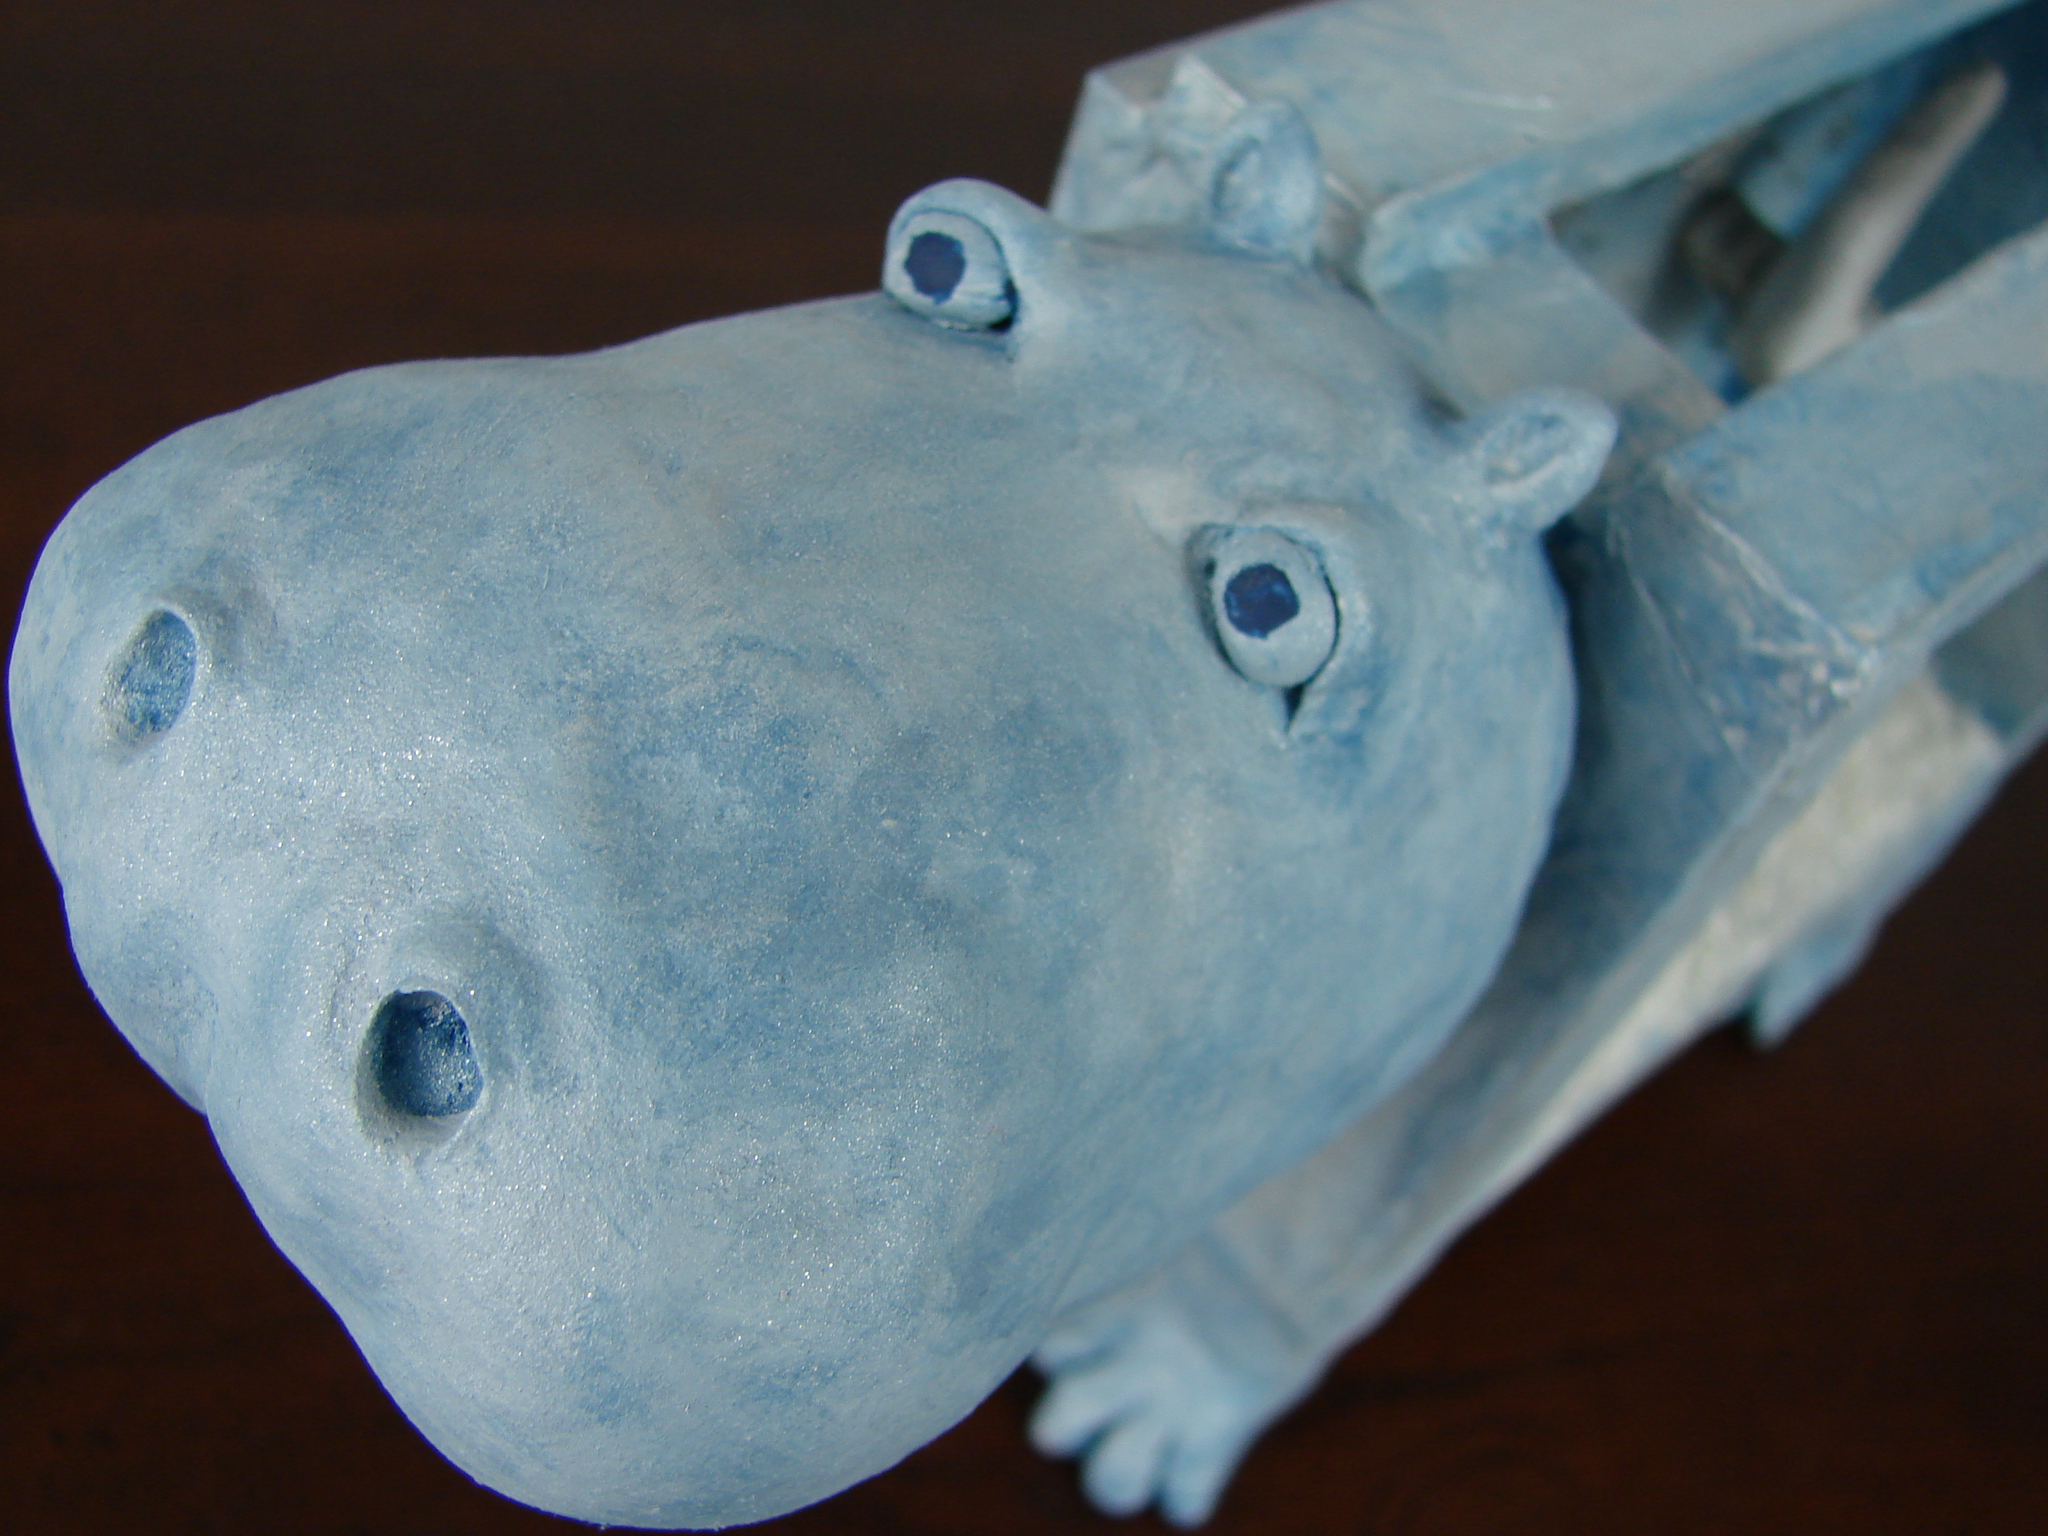
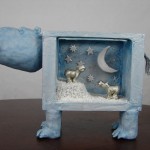
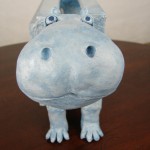
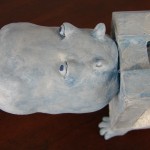
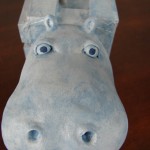
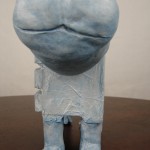
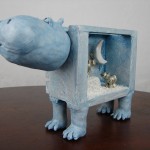
I had so much fun creating this piece and it sold within a week of my listing it on my website – yay! If you’d like to learn how I made it, please read on.
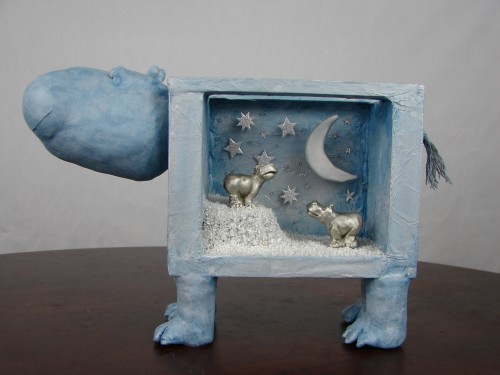
Per my usual working style, this piece took several months to complete. When I started out, I really had no idea what I was going to make. I just knew that I wanted to make a wooden crate into a hippo and that I wanted to have some kind of scene inside the crate.
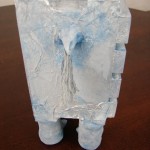
First I cut out some extra wood pieces to line the back of the crate, which had open slats. Then I covered the entire crate in tissue paper to give it some wrinkles and gave it a coat of blue paint. To make the head and legs, I fiddled around with different items scavenged from my household recycling stash and settled on a creamer lid for the head and Lincoln logs for the feet. I attached the head with a dowel and screws and the legs with glue. I primed them with gesso then broke out my favorite medium, paper clay, to sculpt the head and legs. It took several weeks to add, shape, and dry the layers of paper clay. When dry, I primed again and then painted.
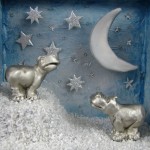
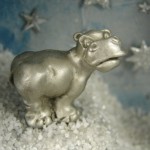
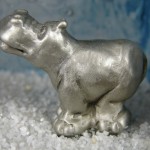
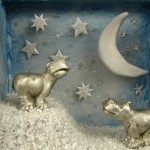
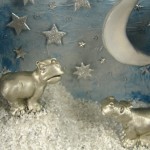
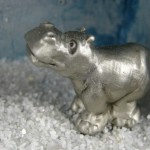
In the meantime, I thought about the inside scene. A snow scene seemed appropriate since lately I’ve been interested in working in a limited color palette; in this case, grays, cream, silver, and light blues. I found two darling hippos at a good price on eBay and purchased them for the inside scene. I decided to place one on a hill so the other one could look up at him. The hill is made from crumpled aluminum and clay. I glued the hippos in place and sprinkled the ground with a white grainy sand that I found at the craft store which gives the look of snow.
The background wall has a paper clay moon with scrapbooking stars. Some have been bumped out with spacers to give a more dimensional feel. The tail is just a bit of paper clay attached to a nail with some strands of string dangling. A coat of sealer and I was done!

